We have disassembled the TRN V60 and measured it’s balanced armature frequency response.
The TRN V60 had a rough introduction in the market due to manufacturing issues that seemed to be related with a non-functional balanced armature.
In response to this, TRN has launched already a quad-driver named TRN V80
In the past we have disassembled the KZ ATE, this time we are taking apart the TRN V60 to show our readers how this model looks inside.
Moreover, we have decided to remove their balanced armature and measure their frequency response.
If you got to here but were looking for a review of the TRN V60, we have reviewed it in the past, you can read the full review by click on the following link to open it: TRN V60 – Review.
![]()

FIND ALL: Scores Compared
MORE: Headphones & Earphones Reviews
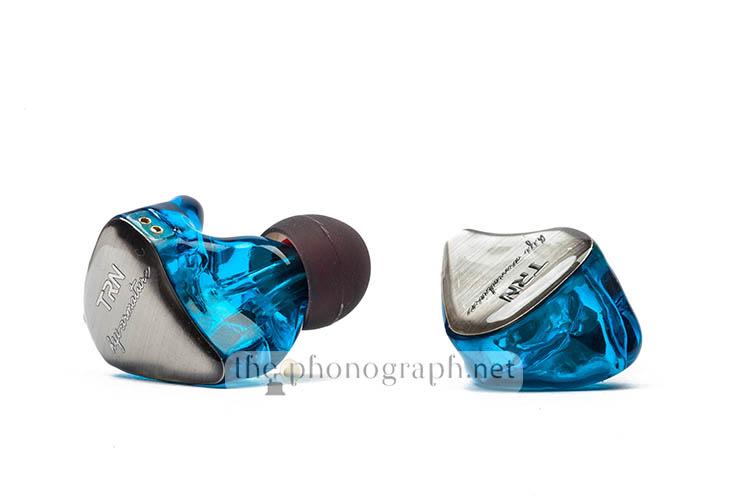
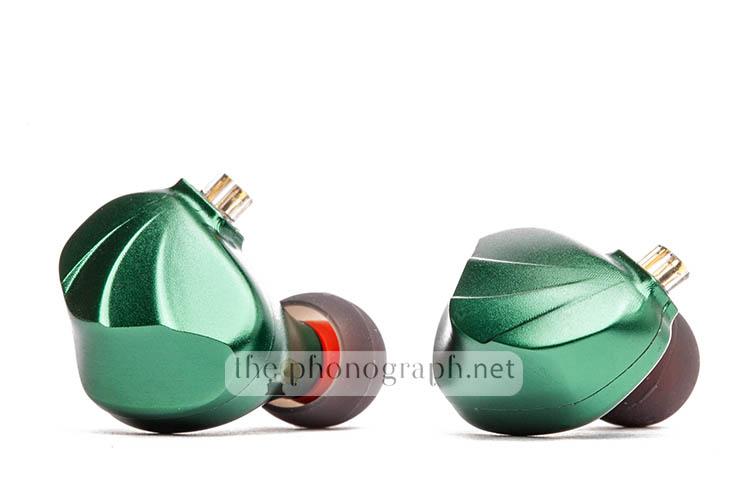
Our unit’s back plate and nozzle section.
The housings of the TRN V60 have 2 materials, a metal back plate and a general plastic housings construction. The nozzles are also constructed in metal.

 TRN V60 Disassembly
 TRN V60 Disassembly
Unscrewing the back plate.
The back plate of the TRN V60 is easily removed by unscrewing the 2 screws visible in the photos below.
Once unscrewed, the back plate will come off as it is not glued nor part of the housings structure.

 TRN V60 Disassembly
Visible drivers after plate removal.
After removing the metal back plate you will see a back housings made of the same translucent plastics as the general earpiece.
This will allow you to better see the inner components of the TRN V60.

Back housing’s disassembly.
The plastic back section mentioned before is glued to the main housing – our unit had 3 points glued.
Once removed, the inner components of the TRN V60 will be exposed.
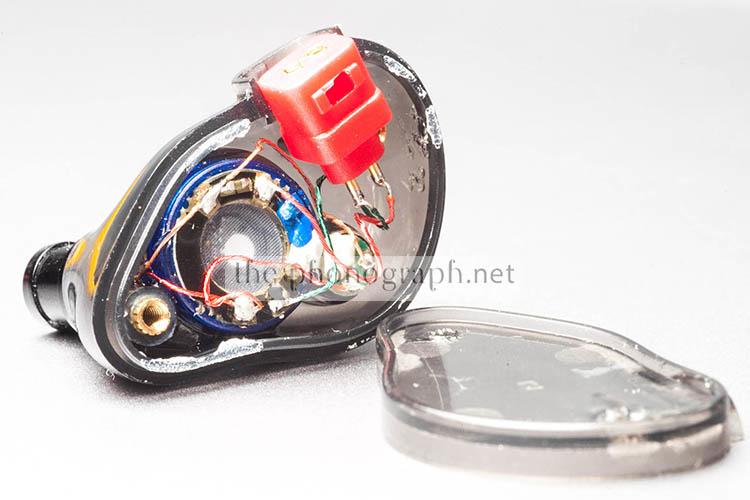

Cable connections and dynamic drivers.
The photos below let you see the 10mm dynamic driver, 3.8mm dynamic driver but not the balanced armature. The driver positioned on the bottom right section of the main driver is the 3.8mm DD.
You can also appreciate the cabling design used, soldering and the bi-pin cable connector section.


Balanced Armature and nozzles disassembly.
From the disassembly photos above you could distinguish both dynamic drivers but until now no traces of the balanced armature are present. The balanced armature is placed inside the nozzle and as the nozzle is constructed in metal and not the translucent plastic of the housings you could not easily see it.
A red and a golden cable can be seen in the photos above the pass next to the left side of the main dynamic driver, these 2 cables are connecting the balanced armature.


MORE: Editor’s Picks Earphones Chart
MORE: Best Bang for the Buck Earphones
TRN V60 Balanced Armature Frequency Response Curve.

After disassembling the whole TRN V60 we measured the balanced armature to verify if the notorious problem with this model corresponded to a defective/non-functional balanced armature.
Our measurements have demonstrated that the balanced armature of the TRN V60 actually works and perfectly reproduces frequencies above 1800 Hz.
The problem with the TRN V60 is clearly related to their balanced armature not reproducing sound still it is not due to a defective BA but to a cabling issue.
TRN V60 + Frequency Response Curve + Balanced Armature Frequency Response Curve.

FIND ALL: Earphones Scores Compared
SEE PRICE
SEE ALL: Amazon Coupons
ALSO: Aliexpress Coupons
MORE: Coupons
FIND ALL OUR: Earphones Reviews / In-Ear Headphones Reviews
MORE: Best Earphones Charts